Quilt Labels - Everything You Need To Know
Writing, Making, Printing, Designing and Attaching Them
Welcome to the world of quilt labels. Groan…such a palaver to label your quilts - why bother? Well…
Why Label Your Quilts
Did you know that about half of the quilts in the International Quilt Museum are listed as “Maker Unknown”? All those talented artists and makers lost to history. Putting my feminist pants on for a moment, women have always had their work diminished by men and men have often straight up written women out of historical achievements. But textile history is just as important as any other type and is dominated by women. The idea that “it doesn’t matter who made it because it is just a quilt” dismisses the concept of anything functional having value.
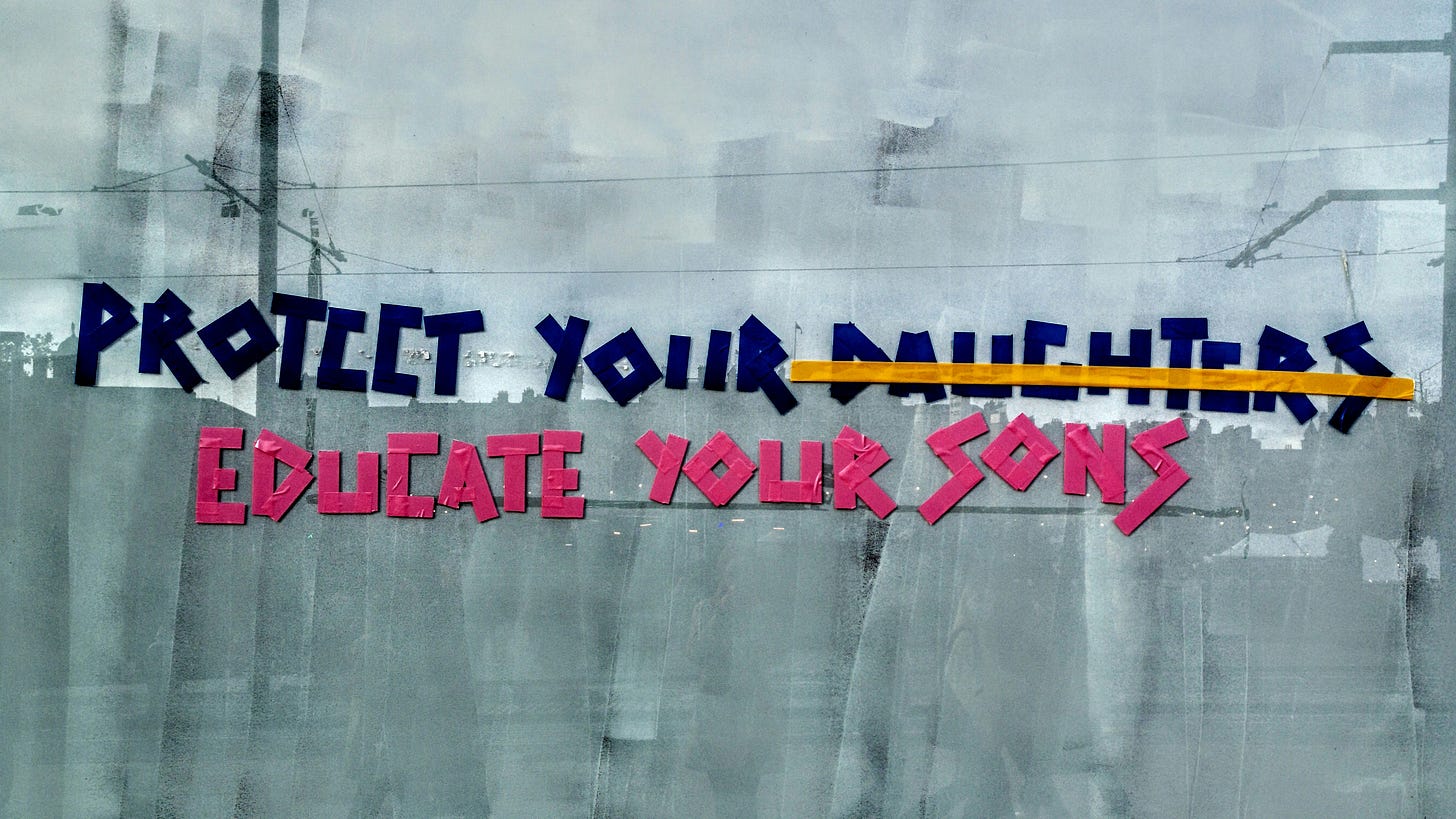
A label transforms a finished project into a piece of history. It records who made that quilt, when, and sometimes why—turning that object into a story that can be shared for generations. Labels also help future family members, collectors, or museums trace the quilt’s origin, while giving the maker credit for their artistry. Whether simple or decorative, a label ensures your quilt is remembered, not just admired.
What to Write on Your Label
You can go as simple or as complicated as you like. Painters tend to just put their name on their work, although some add the year it was completed. With quilters it is most common to add:
Your name
The date it was made/completed
The title of the quilt
However, you can go a lot further and add details such as:
The name of the quilter (if different from the maker)
Where it was made
Why it was made
Who it is being given to
What occasion it commemorates
What it was inspired by
And there is no need to stop there. You could add the name of the fabric designer, a quote or even a poem.
How to fit all of that onto a label? Who says the labels needs to be small? The labels I make tend to be about 6”x4” but you can go as large as you like.
DIY or Store Bought?
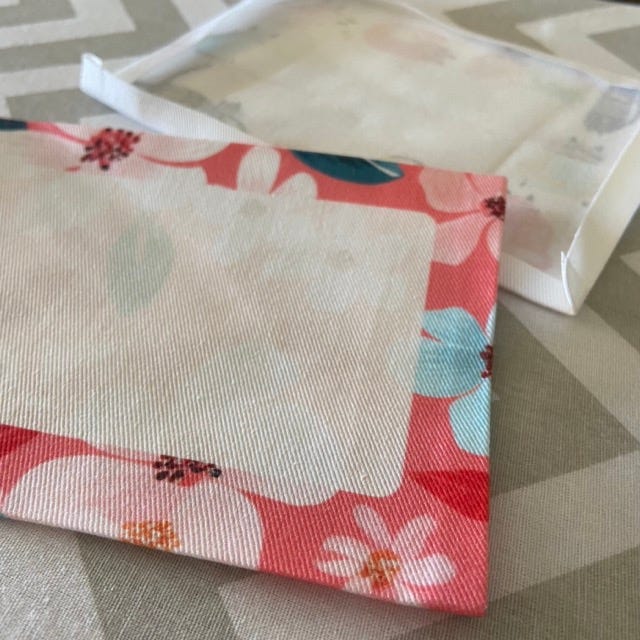
Traditionally labels have been handmade - but then so was pretty much everything until someone made a machine to do it. You can still make your own label out of any suitable scrap of fabric but you can also buy them. Here are some examples:
Buy labels from my store! Guaranteed to be the absolute best, in my opinion.
Buy iron-on label designs from my store
Lori Holt Quilt Label Panel (pretty and cost-effective but a bit small)
Dritz Handmade Labels (super tiny)
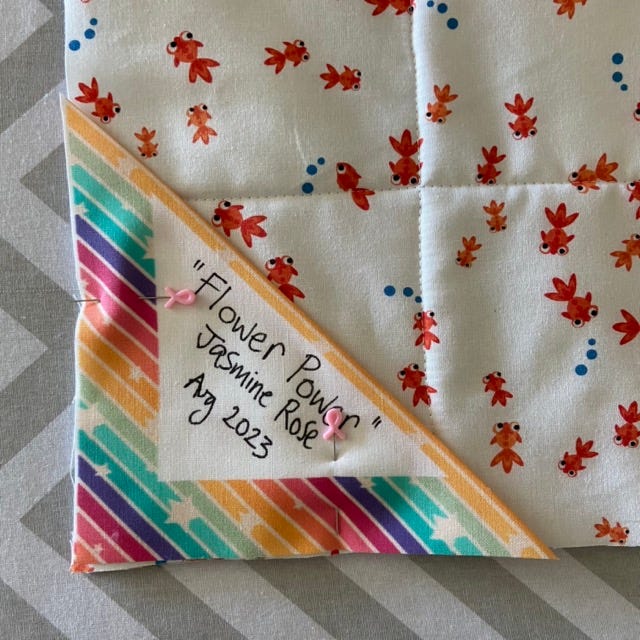
The Corner Quilt Label
My personal favorite which I have to credit quilter extraordinaire Mel Beach for. Use any suitable fabric you have on hand.
Cut a 6” square
Iron in two diagonally
Write on it
Sew it into the corner of your quilt as you add the binding
I love the simplicity of this method. You can use any fabric you can see your writing on. And for fabric markers I won’t use anything other than these Pentel Fabric Markers. They are basically gel pens which means they write EXTREMELY smoothly on even the roughest fabric surface. They don’t stop and start and have excellent, even, ink flow. And they are 100% permanent after ironing.
The Printed Label
Printed labels are super cute and easy to use. When you receive your labels you can trim them to the right size - including a 1/2” hem around the edge that you can iron under. You can use the same fabric pen as before to add your details and then use a whip stitch or running stitch to add the label.
But did you know that you can also print your own labels using an at home printer? Printable fabric sheets are widely available and I like these ones from EZ quilt (also on Amazon here). You can design your own label or you can use a template - and I have this free one on my website you can play with - that you can then type your details into and print to have your label complete and ready to attach.
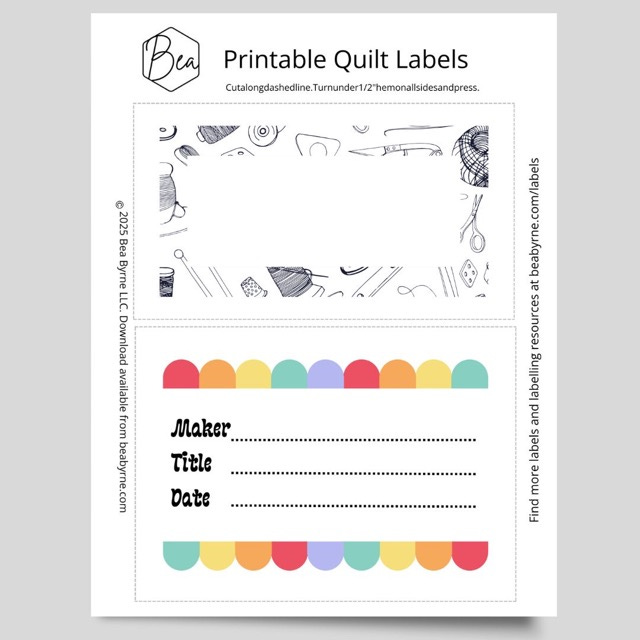
You can also use iron-on transfers which do give a permanent ink line, only it can be quite uneven and not terribly dark. I’ll come to another use for these iron-on transfers in a moment.
I recommend having a ½” seam allowance around the label which you can fold under and press to give you a crisp edge. You can add this type of label at any stage of the quilting or finishing process. You can machine stitch it to your backing fabric and then quilt over it. But you can also leave it until the end and use a whip stitch or running stitch.
Sometimes these labels show the design of your backing fabric through them so if you want to avoid this you can add a second layer of fabric or even a small piece of thin batting. (This is why I like corner labels - because the fabric is automatically a double layer.)
The Embroidered Label
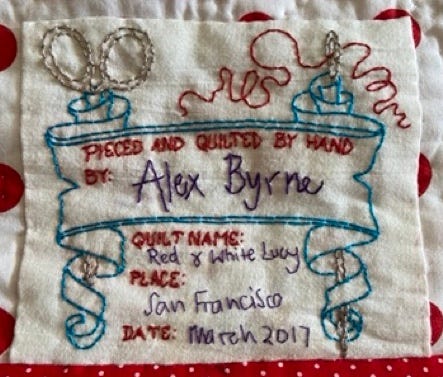
There is nothing sweeter than an embroidered label. It really is taking that extra time to put the cherry on top of what is already a wonderful quilt. As with other labels, you can design your own or use existing books of iron-on transfer quilt labels such as this one - which the above design came from.
You can also buy machine embroidery designs for labels such as this one and this one.
I hope you found this useful! I’d love to see labels you make - send me pictures at info@beabyrne.com or tag me on Facebook or Instagram.


